Getting Started with WireGress

From zero to stable, secure outbound traffic in under 15 minutes.

WireGress gives you a fully managed, dedicated egress gateway pair with your own stable public IP — no infrastructure to manage, no shared resources.

Step 1

Create Your Account & Get Provisioned

Sign up now →

Once approved (automated fraud check — most accounts approved in minutes):

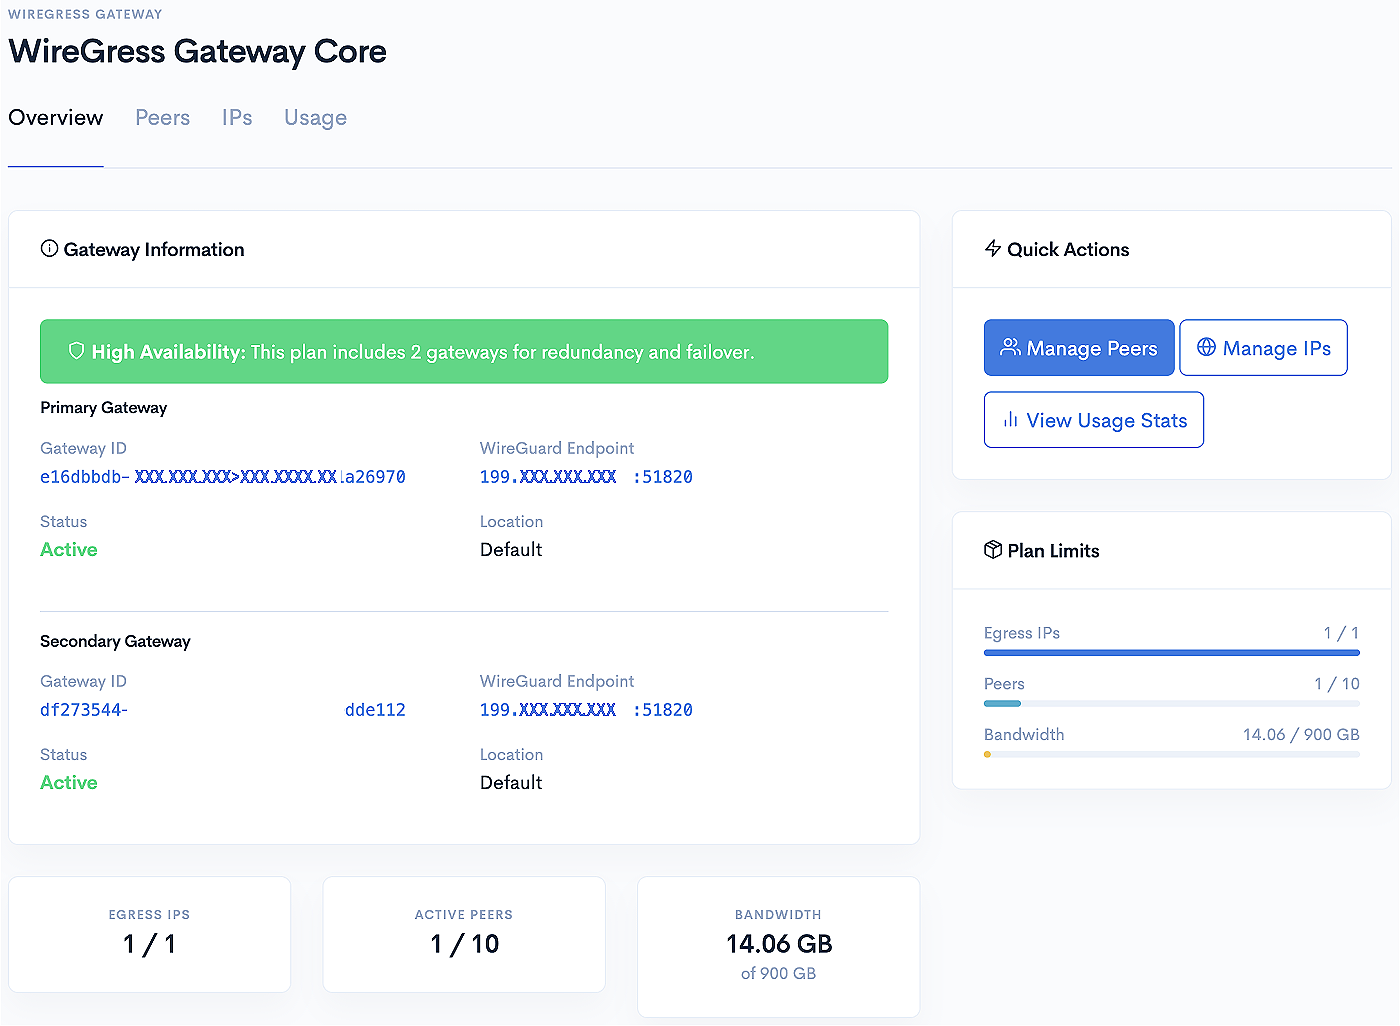
  • Your dedicated gateway pair is automatically provisioned in two separate Texas data centers.
  • You receive a stable egress IP from our clean APYL Inc ARIN block (since 2010).
  • Built-in BGP failover — seamless, no manual intervention required.
Gateway Overview Dashboard

✓ Outcome

You now have predictable outbound identity.
Step 2

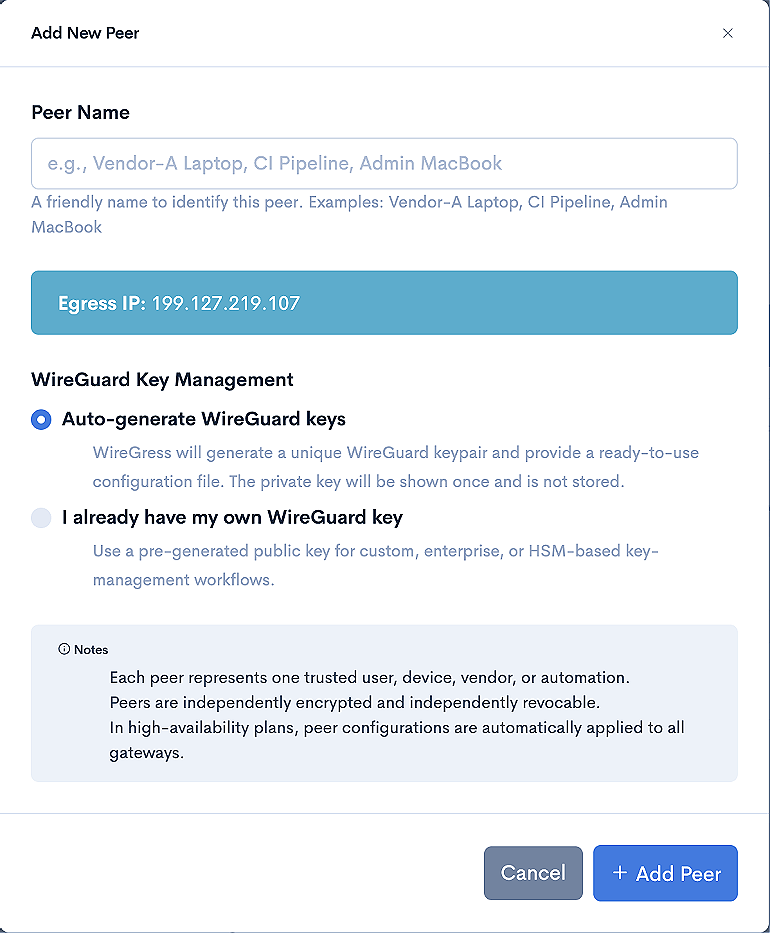
Add Your First Peer

  • Go to your dashboard.
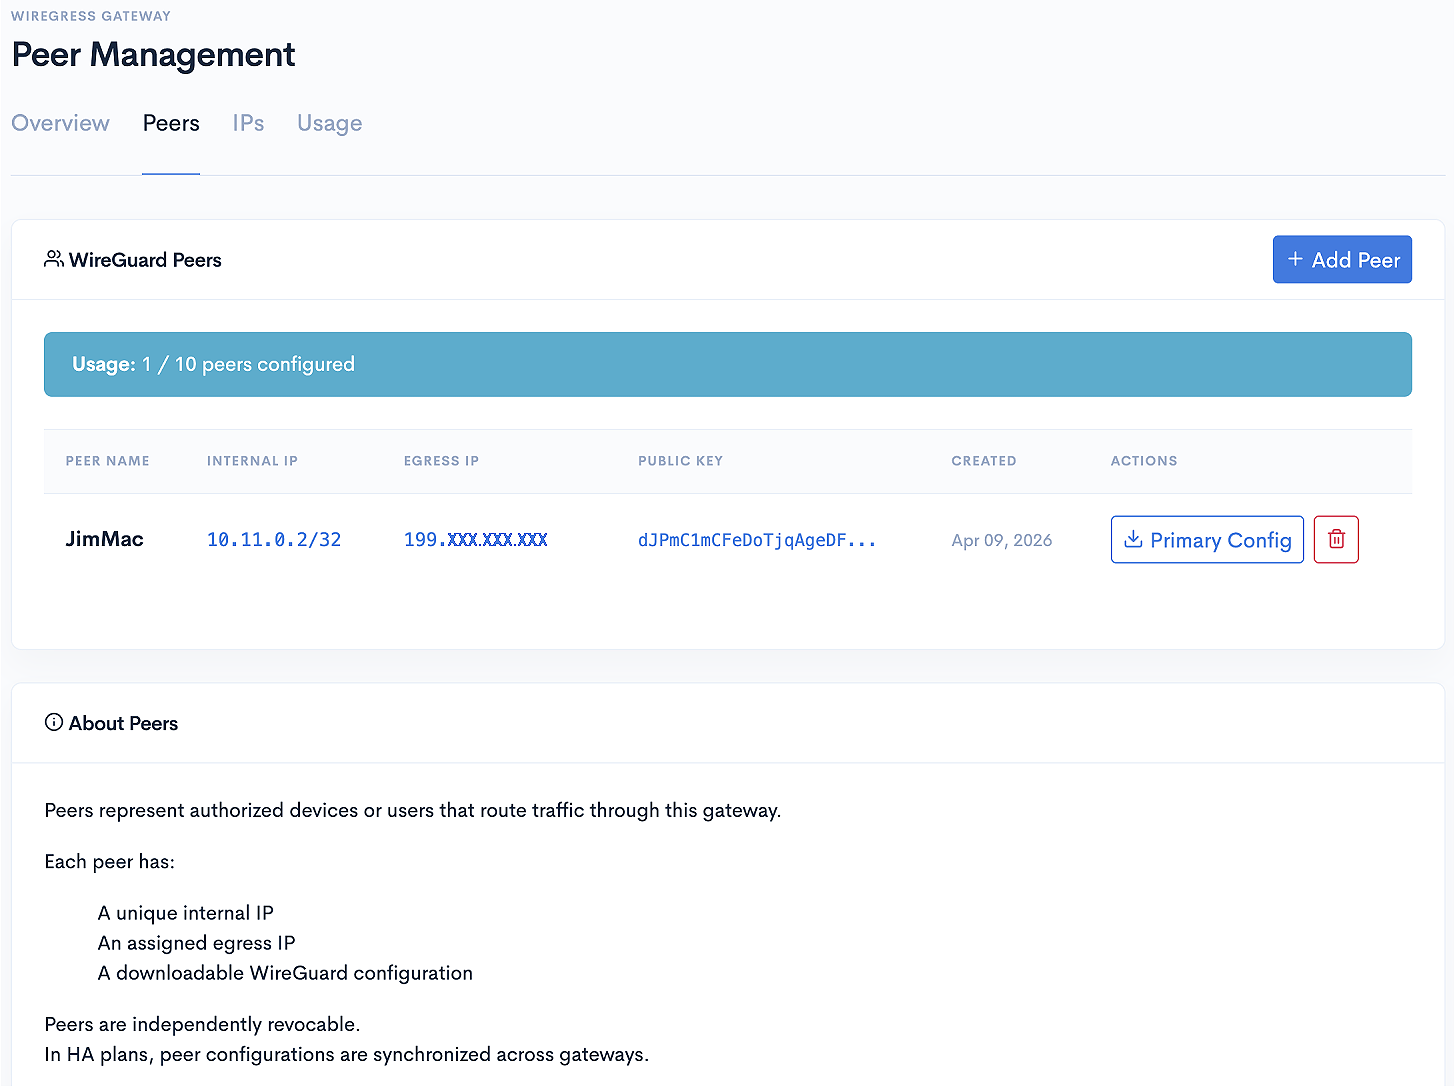
  • Click "Add Peer" — WireGress auto-generates secure WireGuard keys.
  • Download the configuration and apply it to your server, CI runner, or service. (Standard WireGuard config — works anywhere WireGuard runs)

✓ Outcome

Your service is securely connected and routes outbound traffic through your dedicated IP.

Add Peer Interface
Step 3

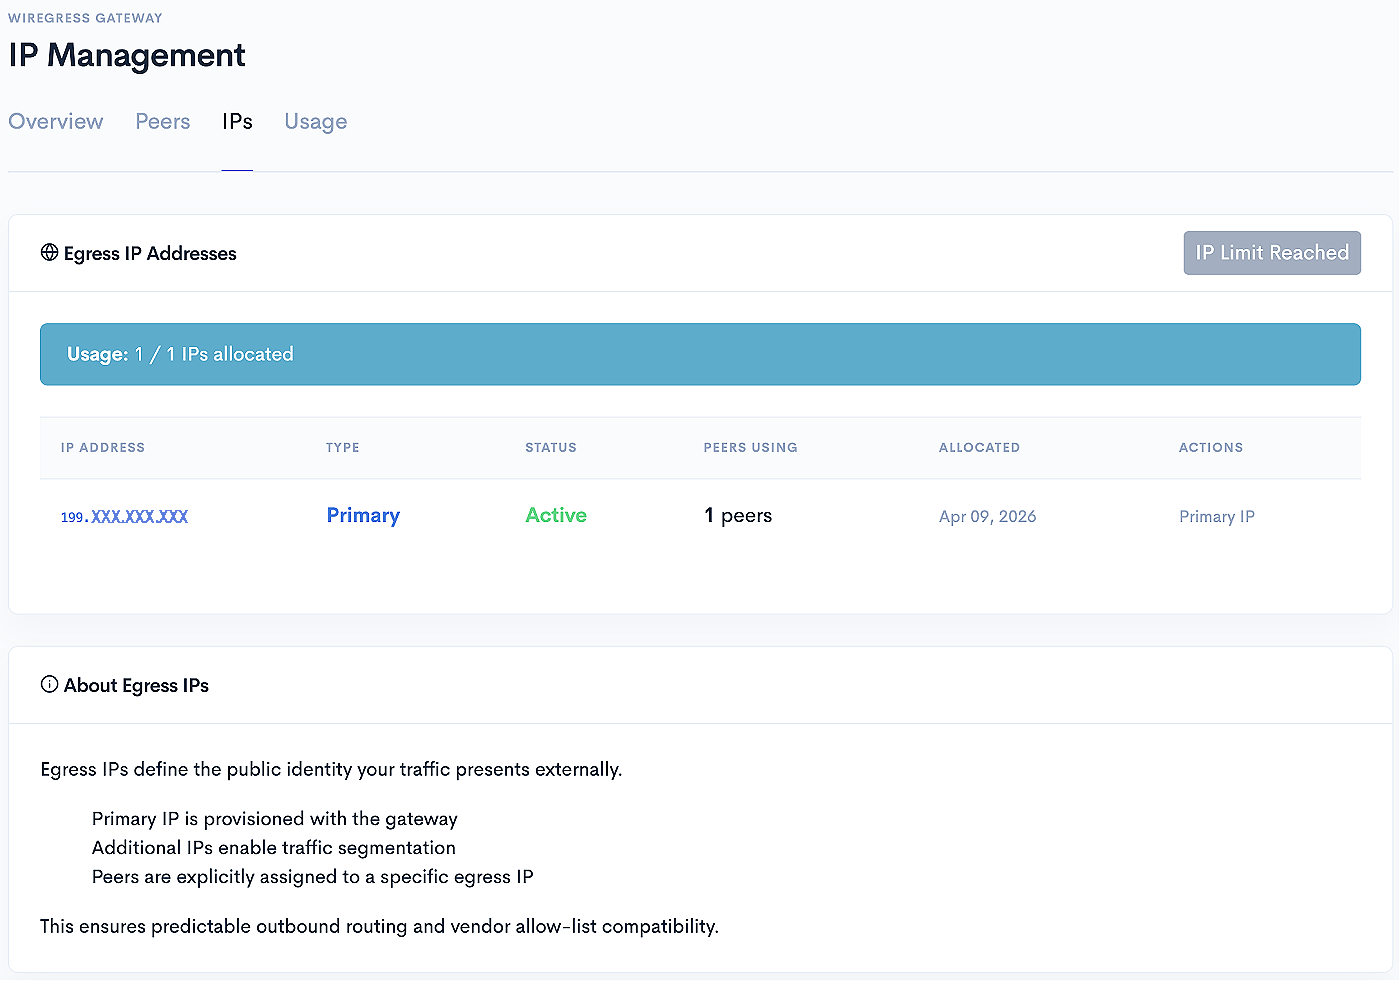
Allow-list Your Stable IP

Your dashboard shows your dedicated egress IP prominently. Share it with:

  • Vendor API portals
  • Partner firewall teams
  • Internal security policies
  • CI/CD configurations
IP Management Dashboard

✓ Outcome

No more updating allow-lists when cloud IPs rotate.

Step 4

Monitor & Manage

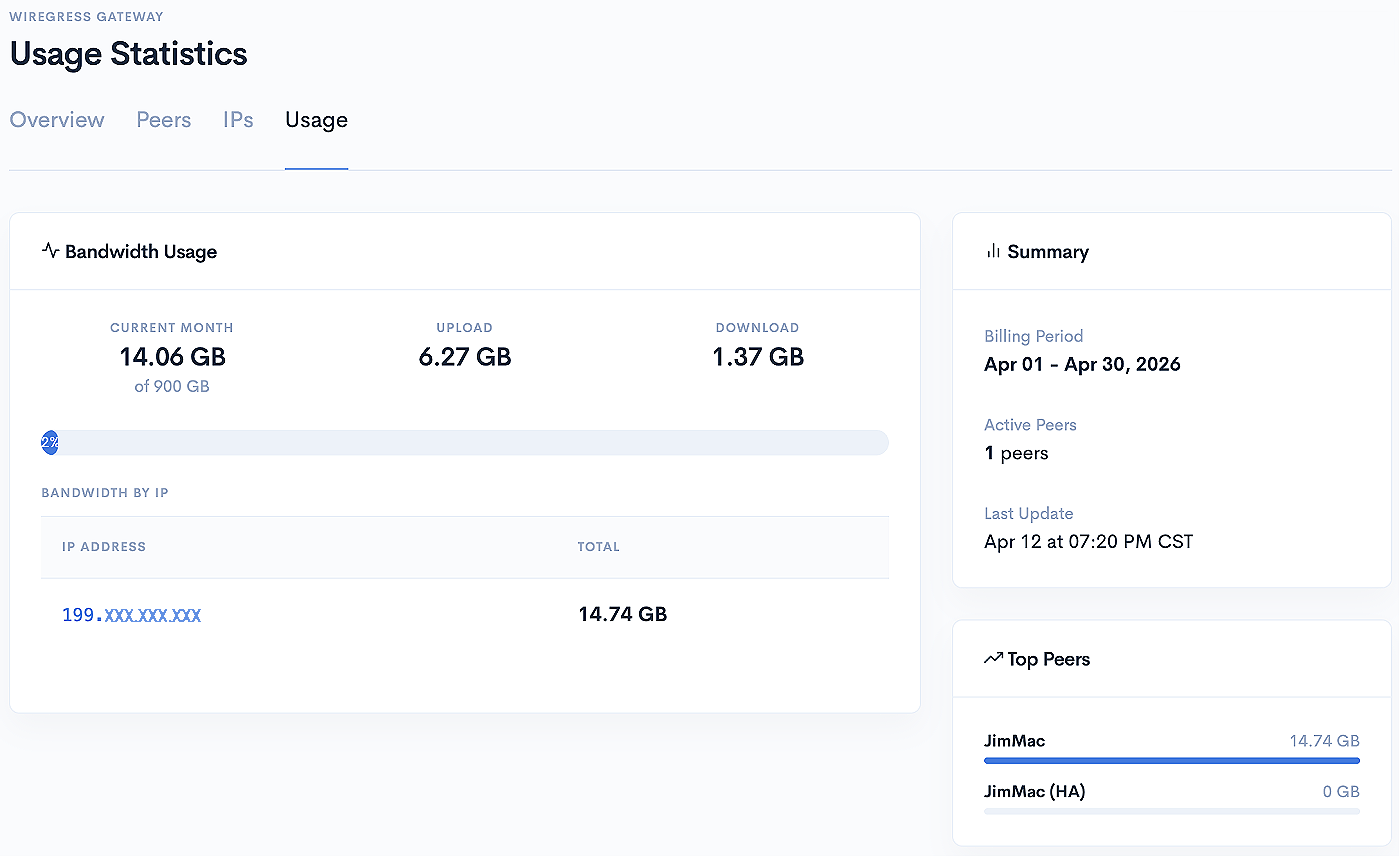
  • Real-time bandwidth and peer usage in the dashboard.
  • Add, pause, or revoke peers instantly.
  • Everything is fully automated after initial setup.

✓ Outcome

Complete visibility and control with zero ongoing maintenance.

Usage Statistics Dashboard

Ready to Get Started?

Questions?

View Full Technical Setup Guide →
or reply to the confirmation email after signup.

Pro Tips

  • Most customers are live within 30 minutes of approval.
  • All gateways are fully isolated — your traffic is private.
  • 14-day risk-free trial on every plan.